 Fig. 2A |
 |
 |
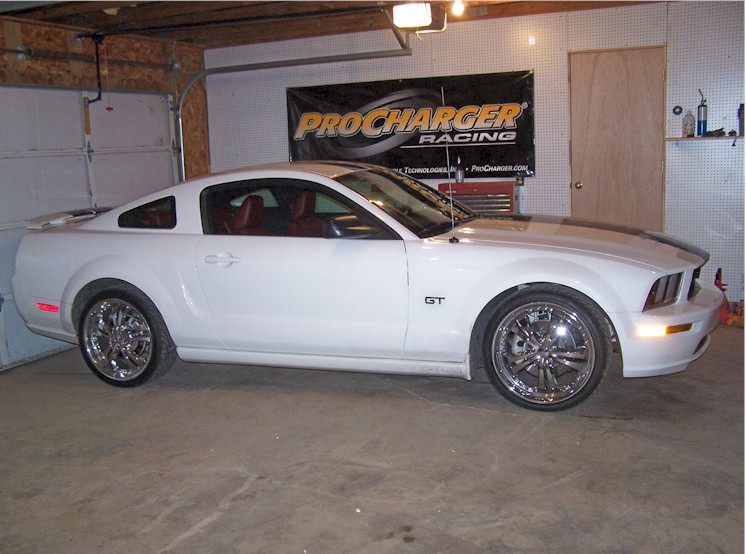
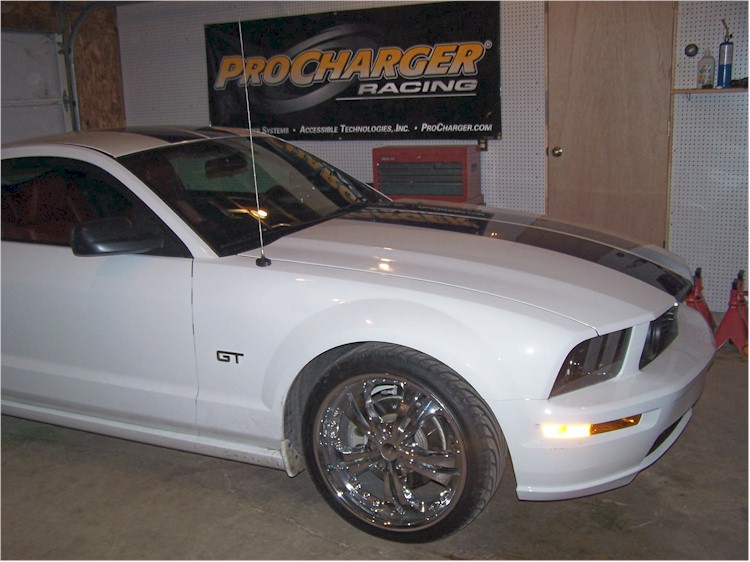
Pictures, Tech Tips and
Advice from our installation of a
Procharger HO Intercooled Supercharger system on a 2005 Mustang GT.
Please call us for more information
about any picture.
Superchargers
4
Less
Call for prices!
Phone:
318-286-9169
The information given below
is only intended to be a supplement to the instructions
that Procharger provides with this supercharger system. We encourage our
customers to
always read the Owners Manual that Procharger provides with their system.
"Click on any
picture for a larger version"
|
Fig. 2A |
|
|
|
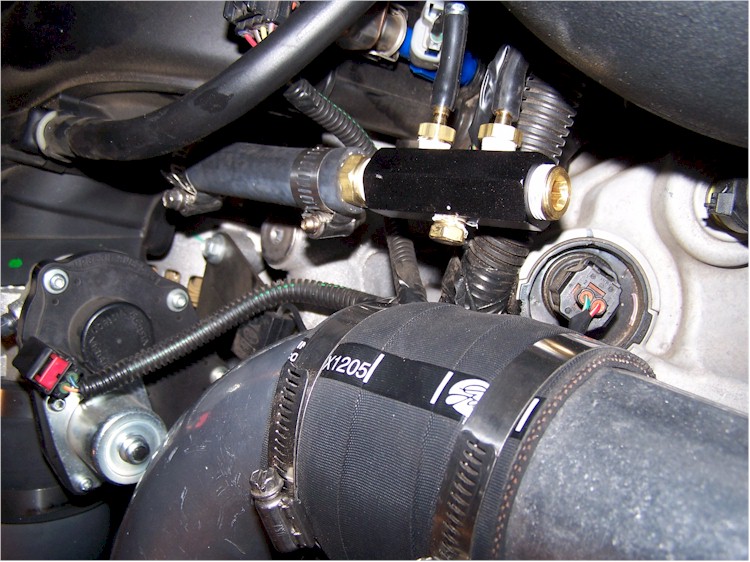
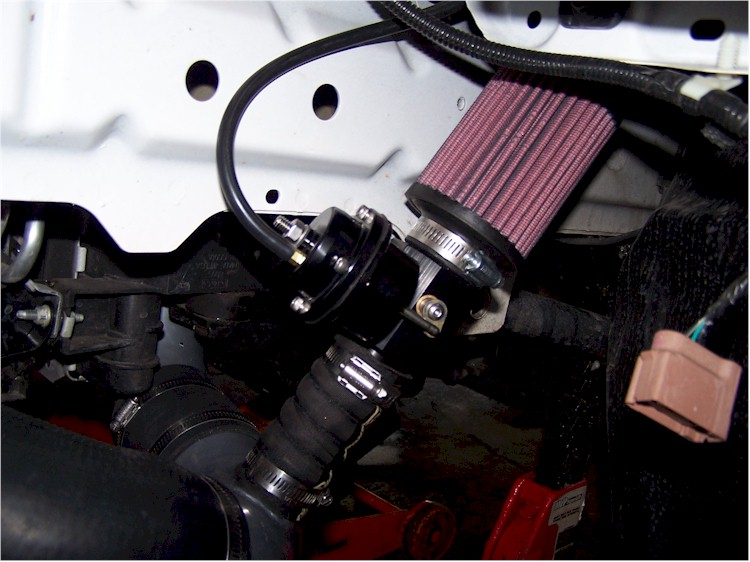
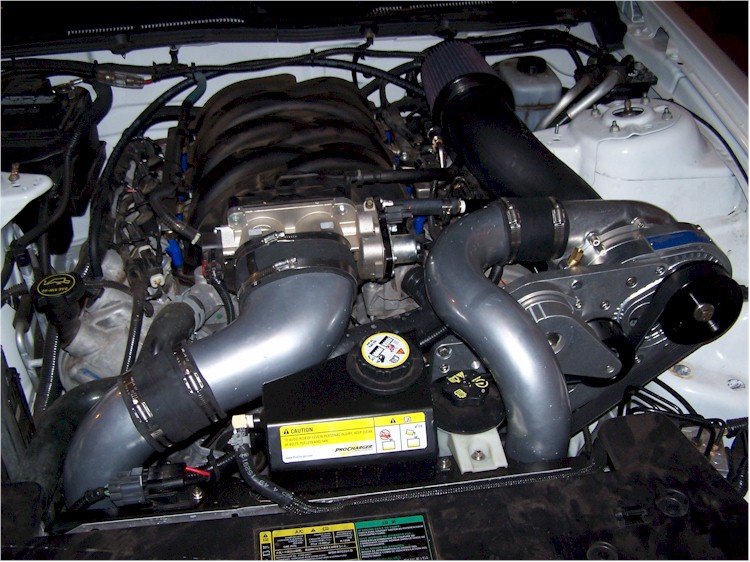
The surge valve is located in front of the driver side front tire, the dash pot needs to be pointed toward the front of the car as shown in fig. 2A The system comes with a new thermostat housing bottom and you use it with the factory thermostat top. Procharger supplied us with a new fan and fan shroud, we swapped the fan controller off the original fan shroud over to the one from Procharger. To remove the controller from the original shroud, take a punch and punch out the white pin then depress the two tabs on the other end, then slide it out. The vacuum line that goes to the PCV valve gets removed and Procharger provides a cap to put over the valve. This is done to make sure that we don't pressurize the crankcase when the supercharger makes boost. On the intake manifold where the other end of the vacuum line for the PCV valve went is where we connect the vacuum manifold that Procharger provides for our boost gauge and surge valve to connect to, see Fig. 3A below. The vapor control unit gets relocated below and farther to the driver side of its original location with a bolt and washer that is provided with the kit, see Fig. 4A below. This makes room for the air intake tube. The original degas tank is replaced with a aluminum one from Procharger. Procharger even provides a new decal for it that tells us not to put red anti-freeze in it. |
 |
|
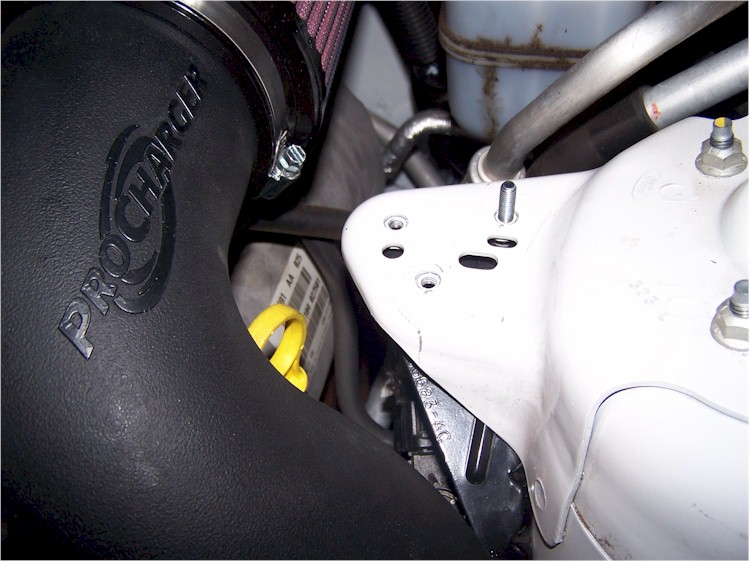 Fig. 4A |
|
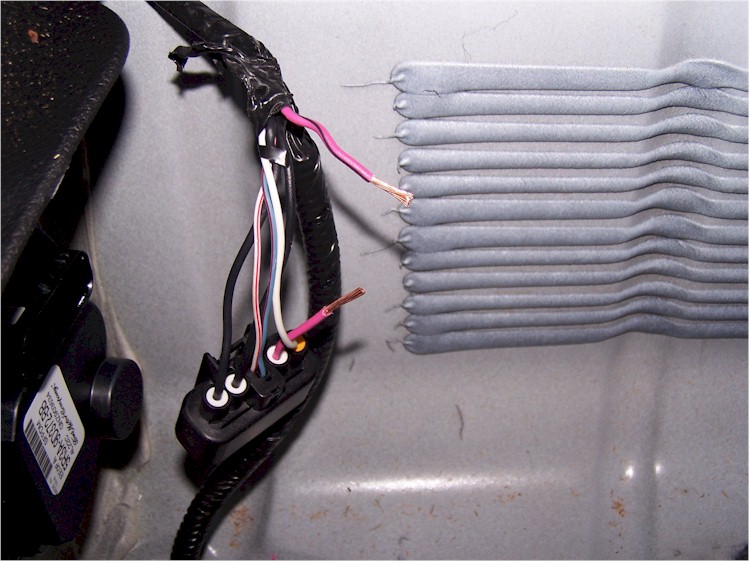
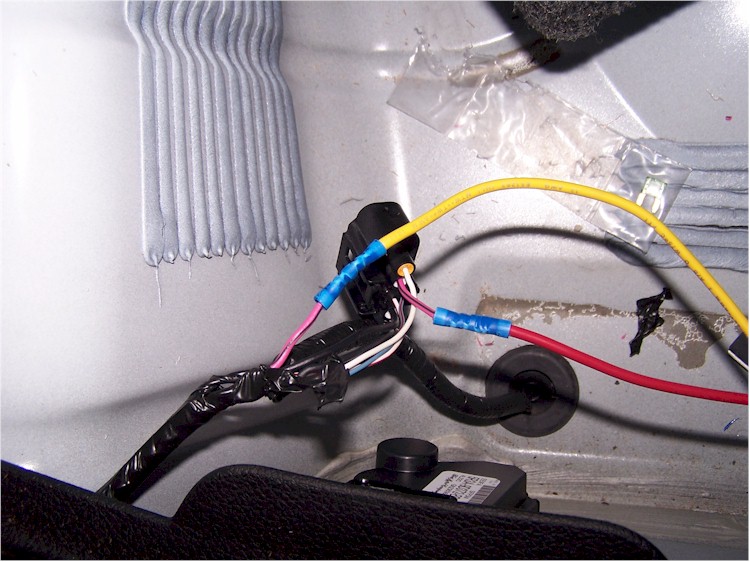
The system comes with a Flow Charger voltage booster for the fuel pump, it increases the pumps output. It installs in the trunk in the spare tire well, to the back of the car. The Procharger manual does a great job of telling which wires to cut and connect. |
 |
 |
 |
|
The fuel injectors have to be replaced with
the 39# injectors that come with the complete kit. Procharger has
you remove the fuel pump relay, and start the engine to get the
pressure off the system. The fuel rail is held down with 4
studs/bolts and the injectors have clips. Changing the injectors
takes about 10 minutes. The last thing that we had to do, was to reprogram the computer with the Diablosport Predator® Hand held programmer. Turn off all electrical devices in the car and shut the door before you begin. Just plug the programmer into the service port under dash and follow the instructions. This takes about 10 minutes. |
 |
 |
 |
 |
 |
Done... Go have fun! |
*Testing was
done with 2 people in the car and letting off the gas while shifting (no power
shifting) We feel confident
that under different circumstances the above times would have been much better.
"Go Here" to see some of our other installations.
Phone: 318-286-9169
Superchargers
4
Less
1110 C C Sandidge Road
Elm Grove, LA 71051